Creating Session Management
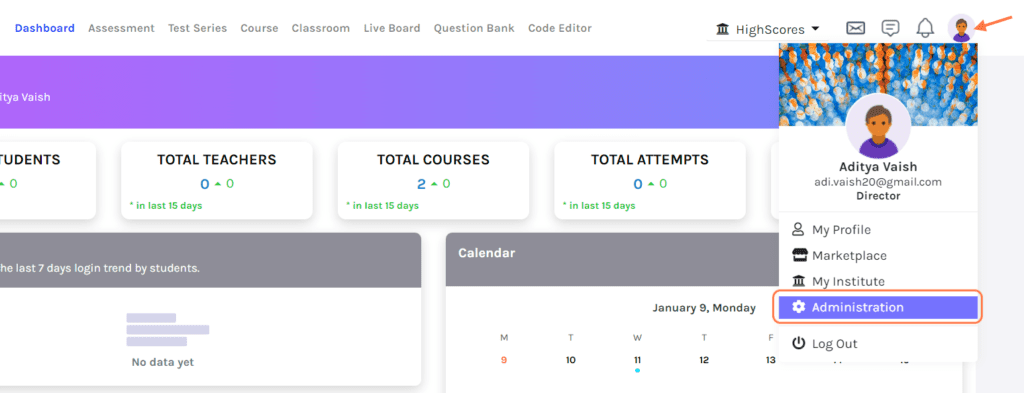
Assuming that you’re already logged in and on Dashboard. Click on your profile avatar at the top right corner of the page and select Administration.
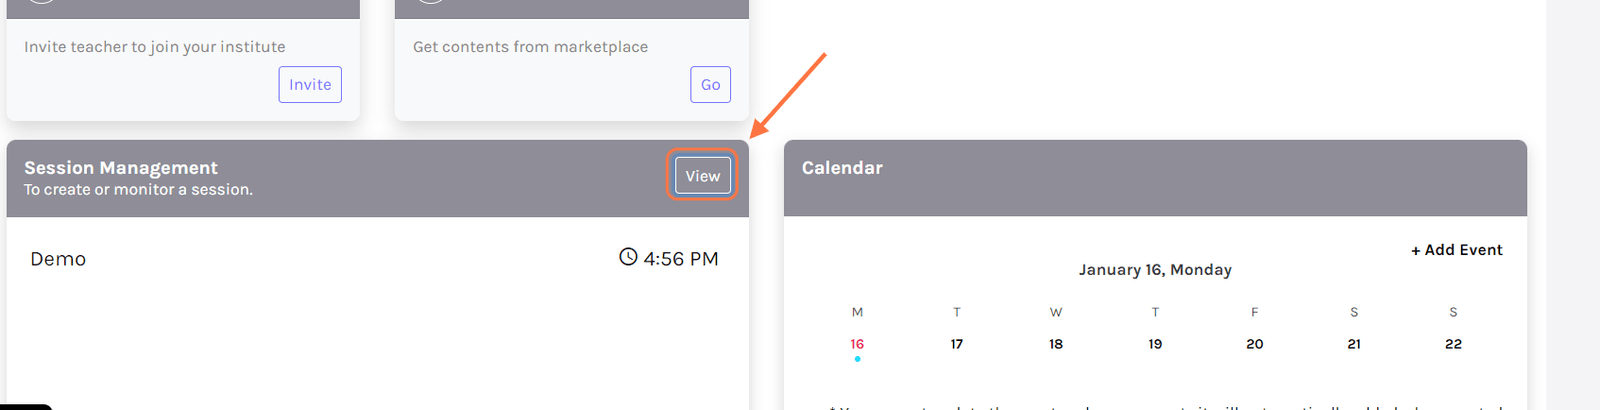
Scroll down, and Under Session Management, you may see the Name and time of any upcoming sessions; click on View.
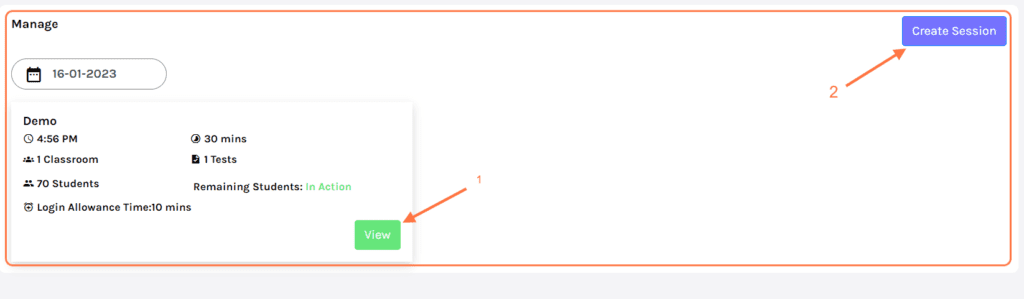
Here a list of upcoming sessions will be available. To edit/manage any upcoming session, click on View. {Refer Image-3 Point 1}
To create a new session, click on Create Session.
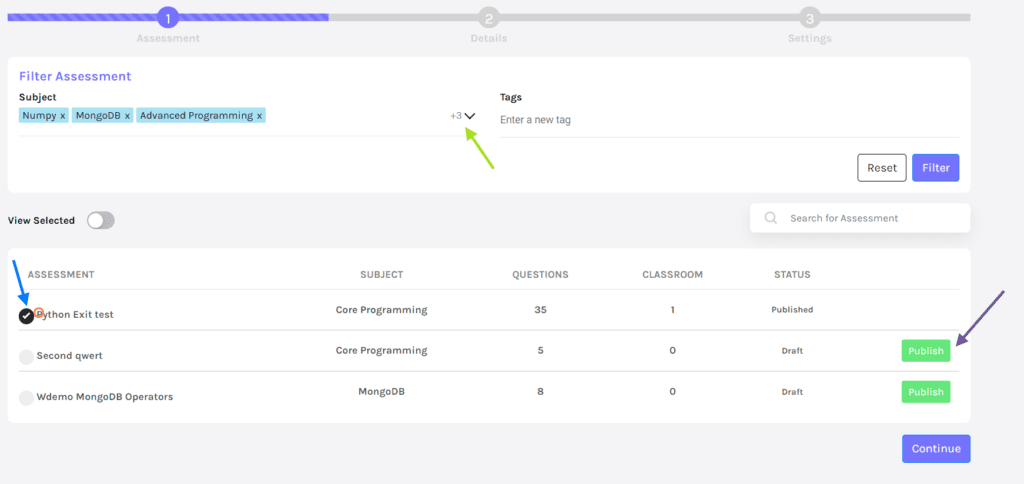
Choose the subject to filter the assessment you wish to put on the test. Multiple subjects can be selected using the drop-down menu. {Refer to image-4 green arrow}
Add any tags if necessary and click on Filter to obtain a list of assessments.
Select the assessment from the list below. {Refer Image-4 Blue arrow}
Unpublished assessments can’t be used for session management; hence to use these assessments, they’re required to be published.
To publish them click on Publish beside the chosen assessment. {Refer Image-4 Purple arrow}
Click on Continue.
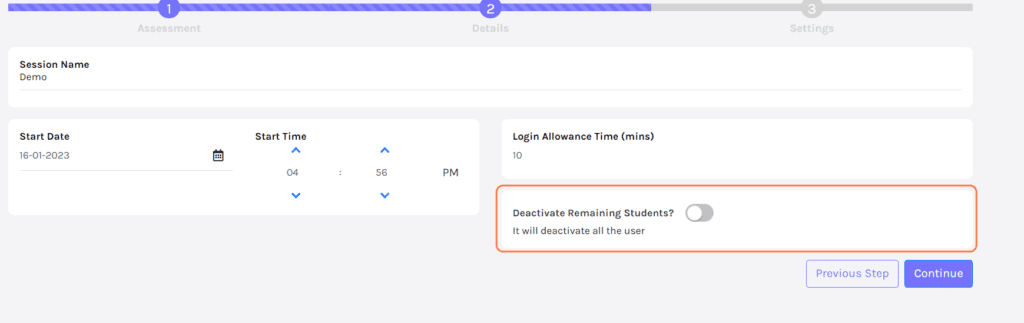
Session Name: Enter the name of the session.
Start date & time: Choose the start date & time for the assessment.
Login Allowance: Allowance time for students to log in prior to the start of the test. For instance, if the test starts at 16:00, and allowance time is 10 mins, the students can log in to their accounts from 15:50.
Deactivate Remaining Students: Enabling this option will disable the accounts of all the other students who are not attempting the test. The accounts will remain disabled until the session is completed.
Click on Continue.
Marks at test level: Disabling this option will allow you to assign different marks to different questions. If enabled, all the questions will carry the same marks.
Random questions: The questions appear in random order to students.
Randomise answer options: The options in the answers will also be shuffled.
Automatic Evaluation: The test will be evaluated, and the marks will be allotted, and the result will be generated.
Allow other teachers to view: Enabling this option will allow other teachers that are added to the assessment to view the assessment.
Allow students to view answers: Students can view answers to the assessment after they submit the test.
Student Camera: Requires students to open their cameras while attempting the test.
Click on Finish.
