Course Settings
Courses come with a variety of options and customizations to fit your needs. You may also change the previously made settings of a course.
Click on Course from the top panel.
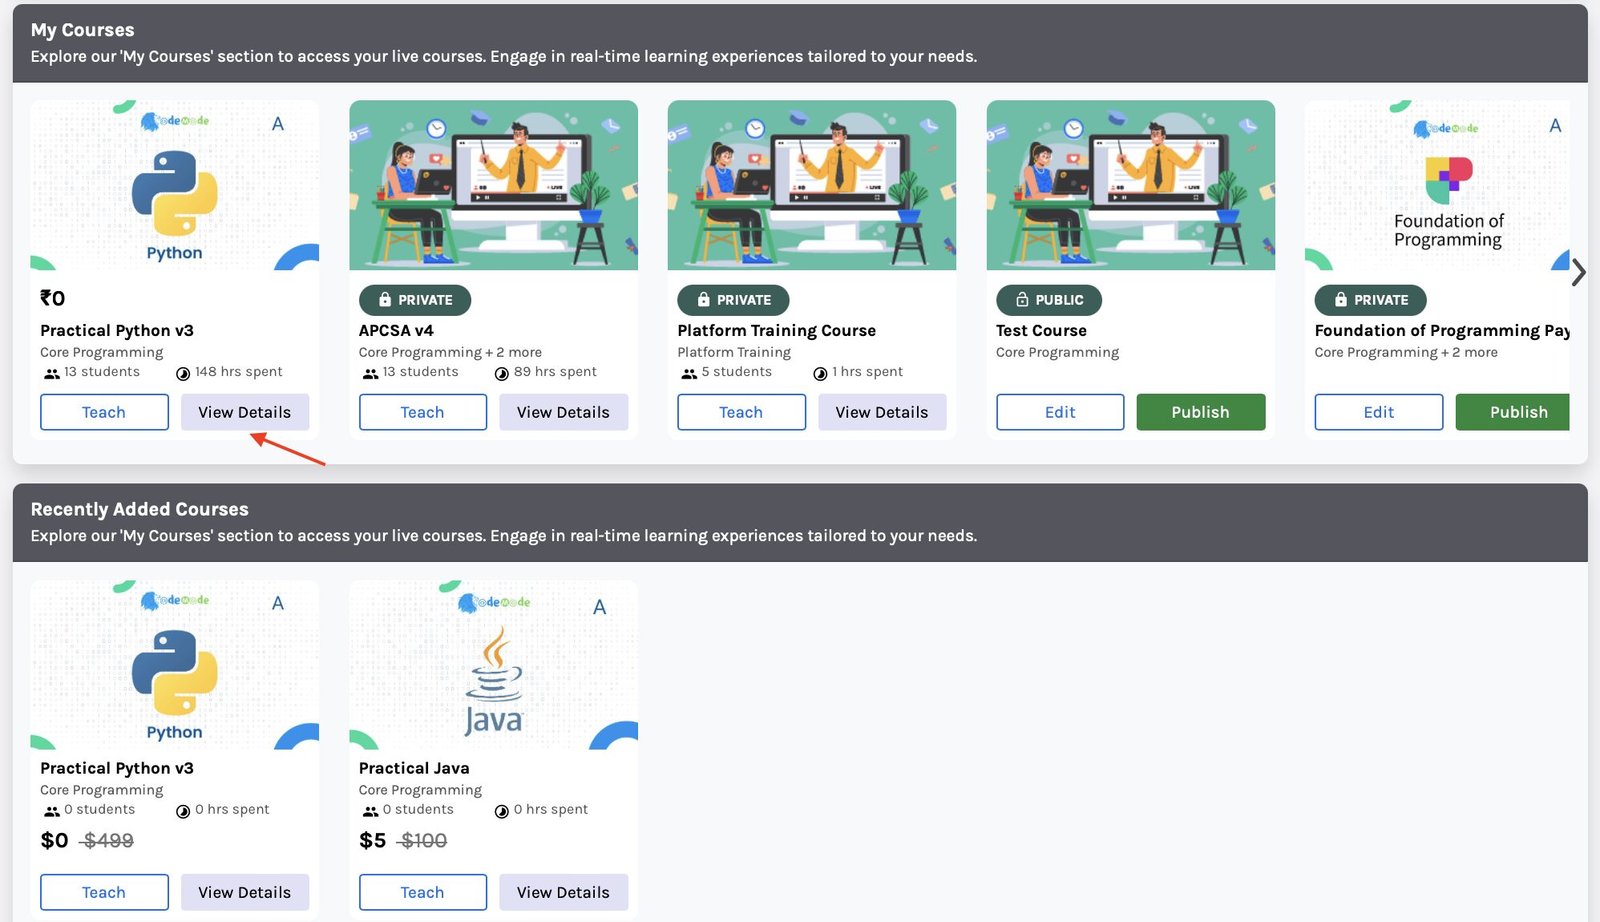
Select the course by clicking on View Details.
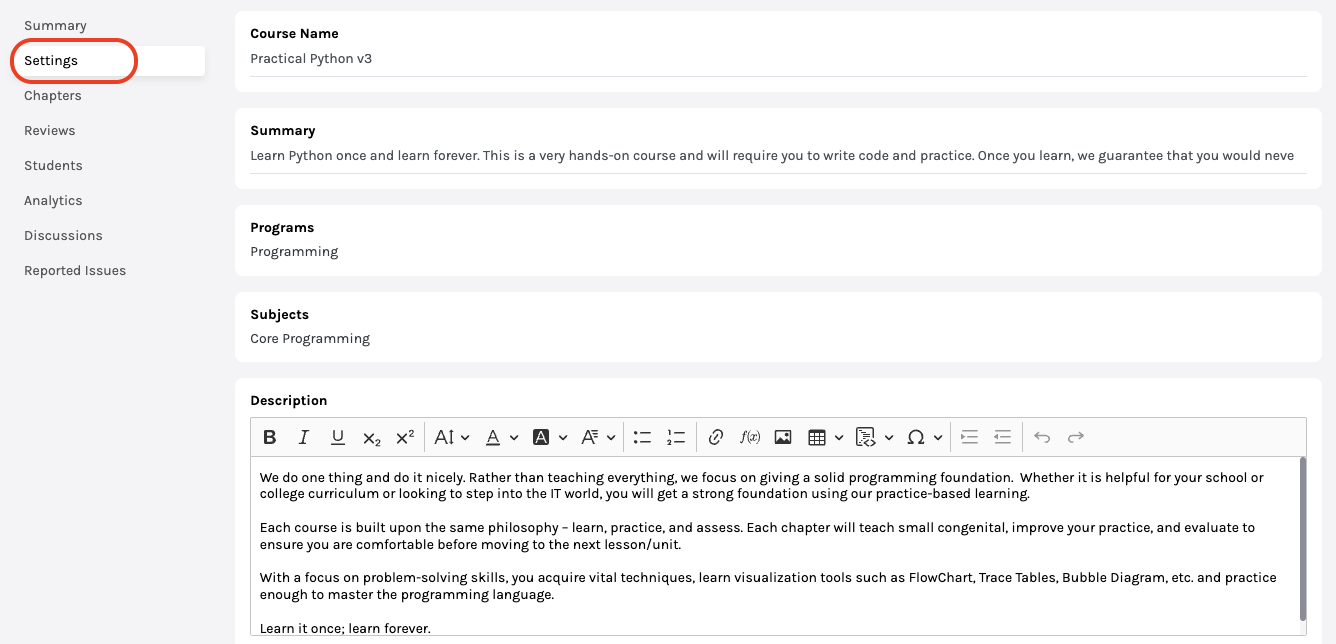
Click on Setting from the menu on the left side of the screen.
You may make changes in the following fields:
Course name: The name of the course that is visible to everyone.
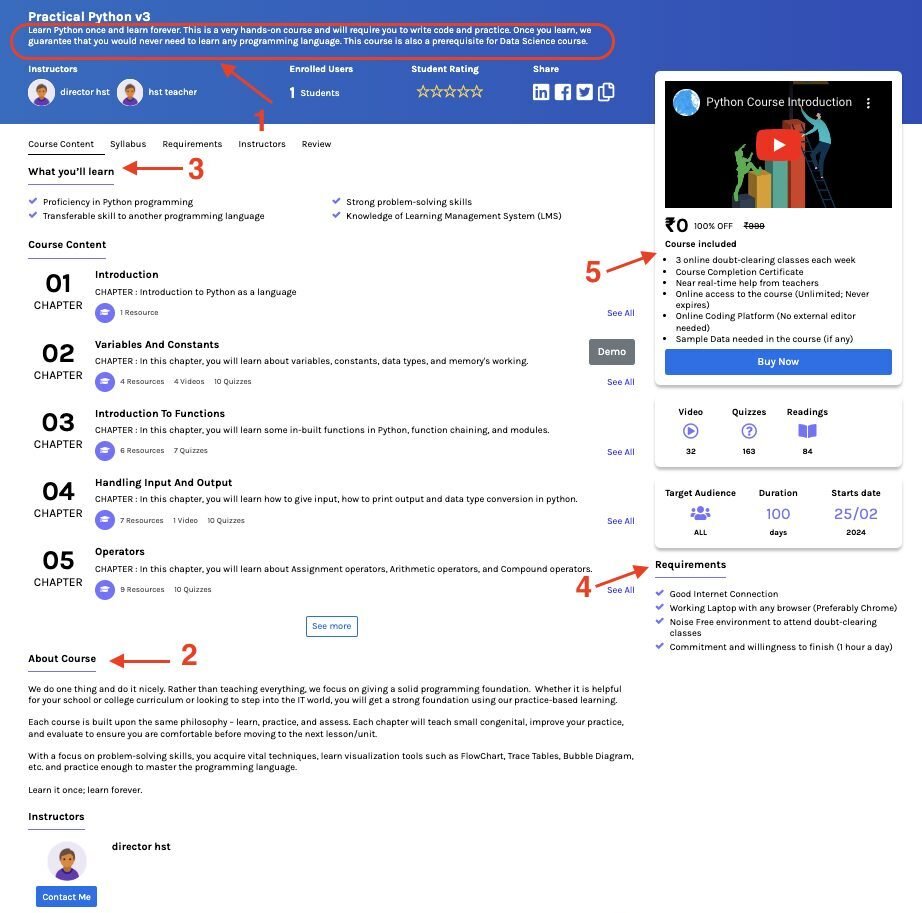
Summary: Brief detail of the course; Appears below the course name on the buyer’s screen. {Refer to point – 1 in the User’s Screen image below}
Subjects: You may add new subjects or remove the existing ones by typing the subject’s name (only for a draft course).
Description: The course description. Appears under the title of About Course on the Users’ Screen. It is suggested to write a detailed description covering all the aspects of the course. {Refer to point-2 in the User’s Screen image above}
Learning Includes: Tells students what they will learn after finishing this course. Every new line is considered a different point and appears in bullets on the User’s Screens. Writing small and precise points under this section is suggested for ease of reading to the user. {Refer to point – 3 in the User’s Screen image above}
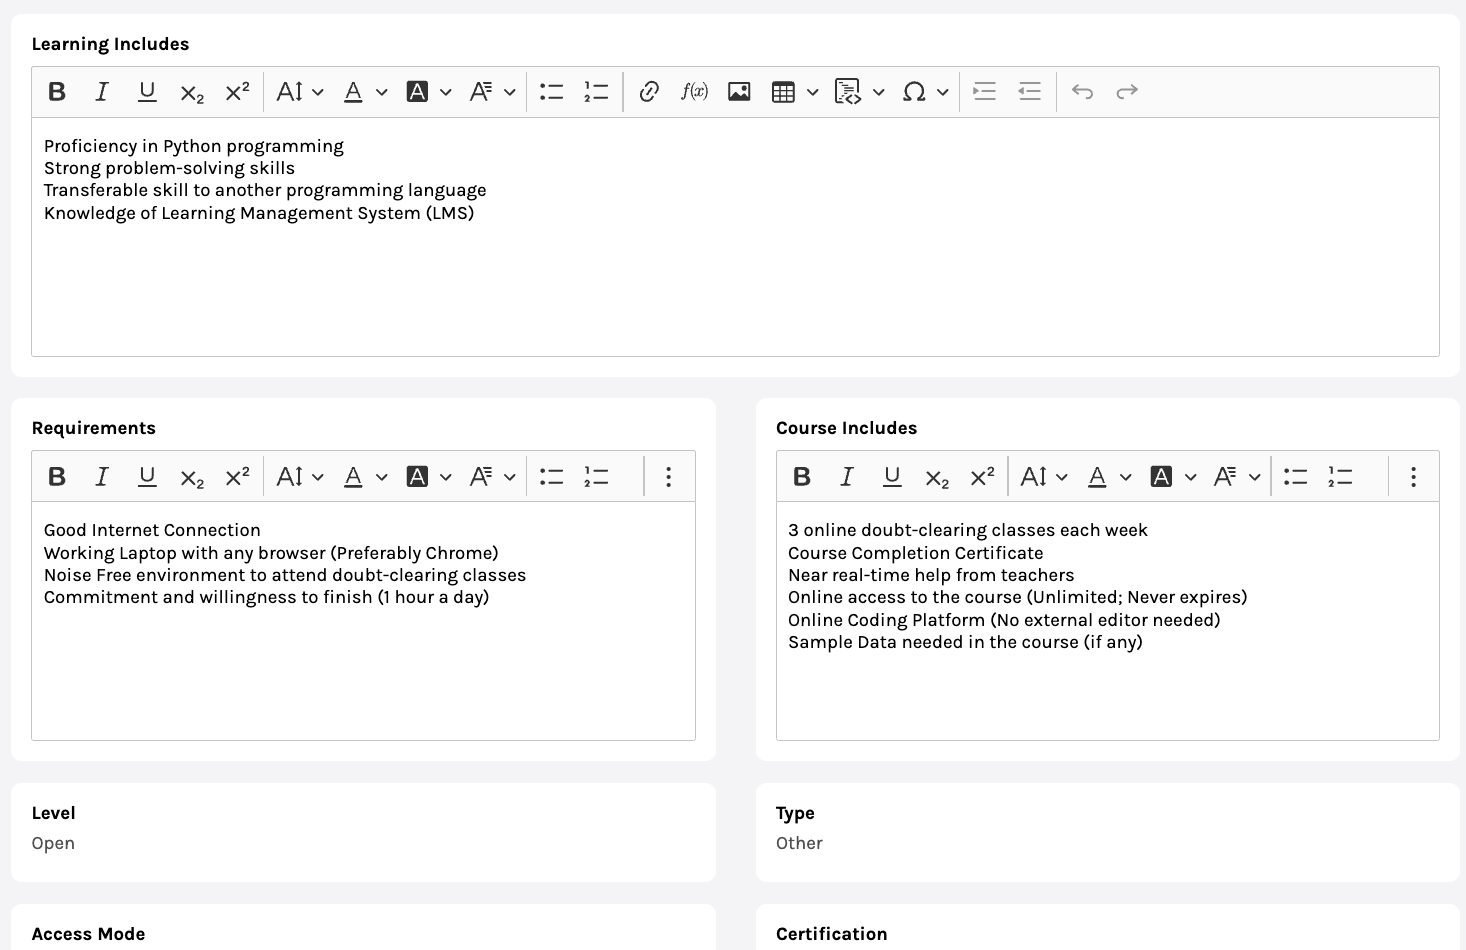
Requirements: Mention the requirements needed before attending this course. Every new line is considered a different point and appears in bullets on the User’s Screens. Writing small and precise points under this section is suggested for ease of reading to the user. {Refer to point – 4 in the User’s Screen image above}
Course Includes: Mention what subject/topic/chapters the course contains. {Refer to point – 5 in the User’s Screen image above}
Level: Tells who can attend the course.
-
- Open means anyone, irrespective of their qualification, can attempt the course.
-
- School/Bachelor/Master refers to the minimum qualification needed to take the course.
Type: Select the type of course, whether it is semester-wise or not.
Access Mode:
-
- Public: The course will be available to everyone.
-
- Private: The course will only be available in your chosen classrooms. You can choose the classrooms from the drop-down menu.
-
- Buy: The course will require to be bought before one can attempt it.
- Buy: The course will require to be bought before one can attempt it.
Note: You can make changes “Level”, “Type” and “Assess Mode” in a draft course only.
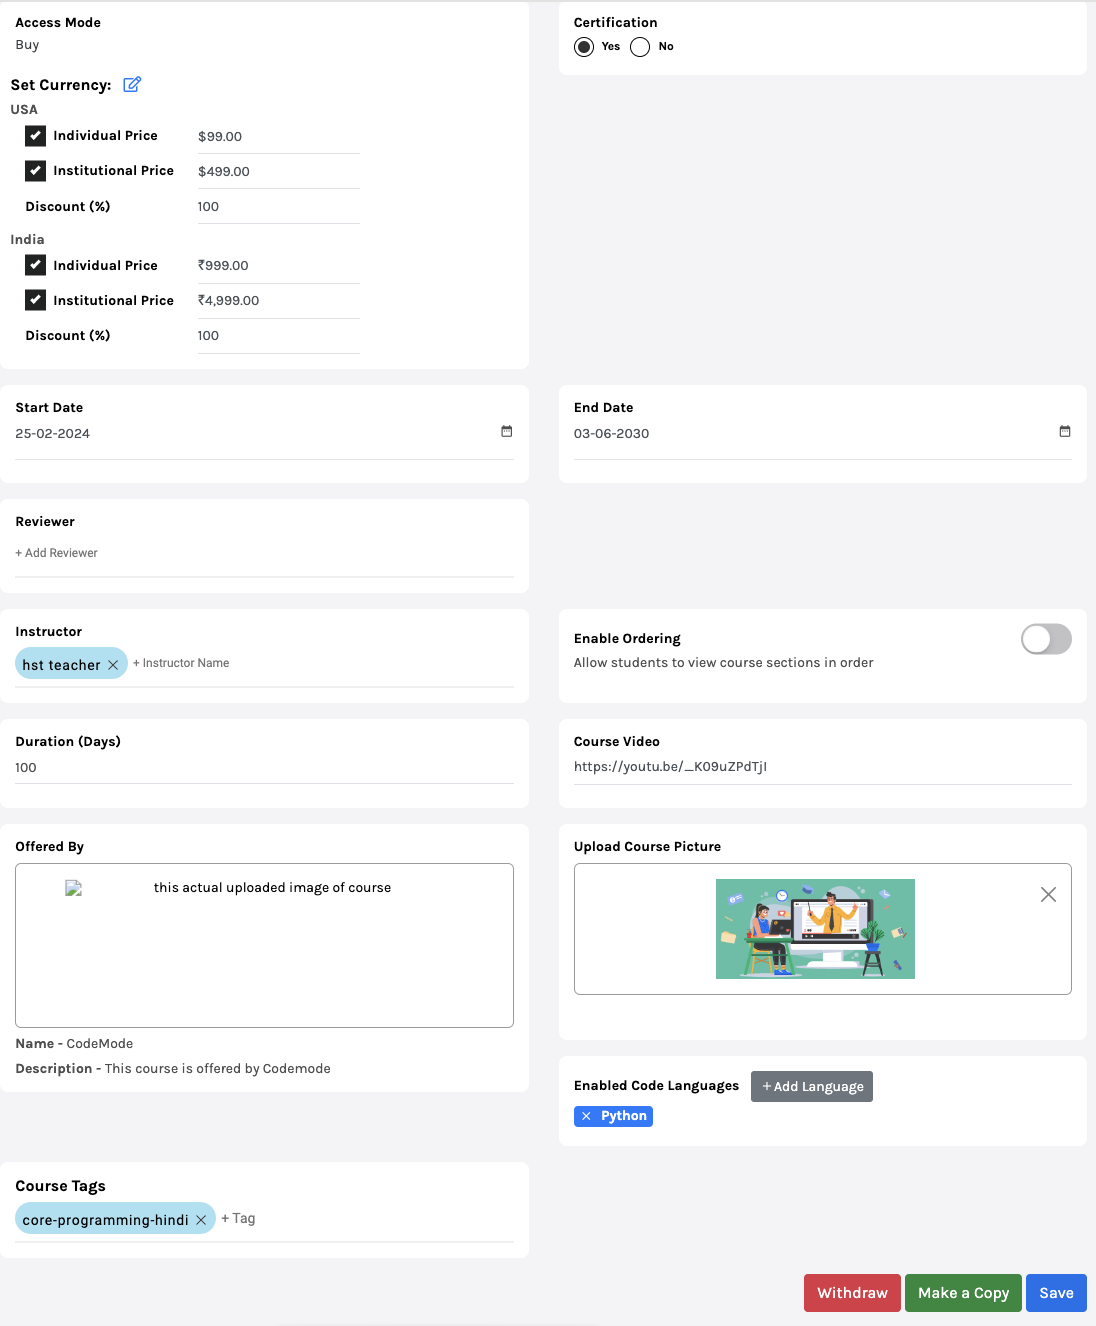
Set Currency:
-
- Individual Price: It is the price at which it’ll be available for students to buy.
-
- Institutional Price: The price at which other teachers/institutions can buy your course.
Certification: Select if the course comes with certification or not.
Start/End Date: Dates between which the course will be available.
Reviewer: Add the reviewer by typing their name in the column; you can add more than one reviewer.
Instructor: Instructors are the teachers/educators who will have access to the contents and analytics of the course. To add an instructor, type in the name. Names of Instructors appear on the Users’ Screen. {Refer to the User’s Screen image above}
Enable ordering:
-
- Enabling this feature will allow students to attempt courses in order. For example, Students can attempt Chapter Two, of course, only if they finish Chapter One.
-
- When Disabled: Students can attempt the course chapters in any order.
Duration: Enter the days/hours the course needs to be completed (You can make changes in a draft course only).
Offered by: The details include:
-
- Name of teacher/institution who offered the course.
-
- Description of the course.
-
- Add any media file (optional).
Note: You can make changes to “Duration” and “Offered by” in a draft course only.
You may add/change the link to the Course Video and Course Picture and you can also add/change Course Tags.
Click on Save to update the changes.